HERBS > CHIVES > PLANTING
IN THIS scout
CHIVES GUIDES

HarvestingPlanting Out
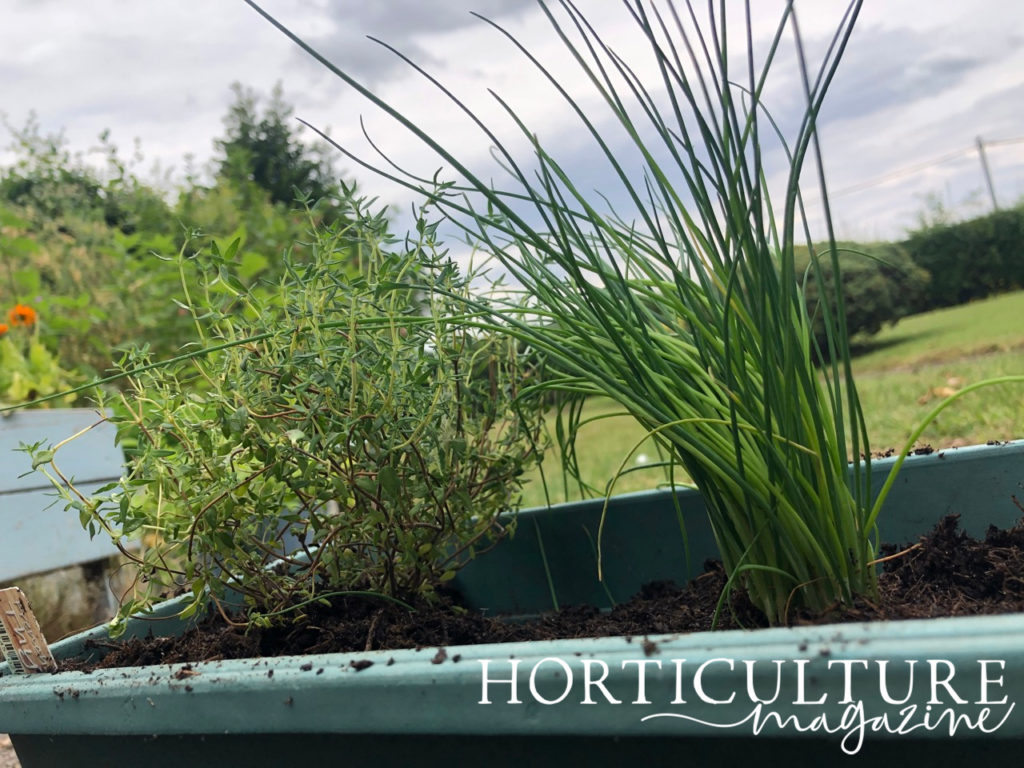
Few plants are as multi - dimensional as Allium schoenoprasum .
They are hardy , racy perennial herbs with no positional prerequisite , pretty grass - like foliage and cute pommy - pom flowers – whilst also being pest - resistive and disease - spare .
Because chives are very slow to develop from ejaculate , this herbaceous plant is usually planted from small potted plants cognise as starts .
“ If you already have an established clump it is easy to divide a part and replant by following the instructions below , ” shares Master Horticulturist Colin Skelly .
“ If it is a small division then pot up first before planting , and if it ’s a large clump then it can be replanted directly away in April and May . ”
Chive starts are pronto sourced from brick - and - trench mortar garden centres and online baby’s room .
you may plant chives by following these step :
This process is explained in more depth below .
1) Prepare The Planting Site
This unfussy plant can be planted in any spot so long as it is not in full shade and is not Frederick North - facing , whilst full sun is preferred but not necessary .
Chives will be perfectly content in virtually any kind of soil so long as it is not too heavy or clayey and drain well , so fix the type of soil is not strictly necessary .
However , if you need to get the most out of your chive plants , here ’s what to do .
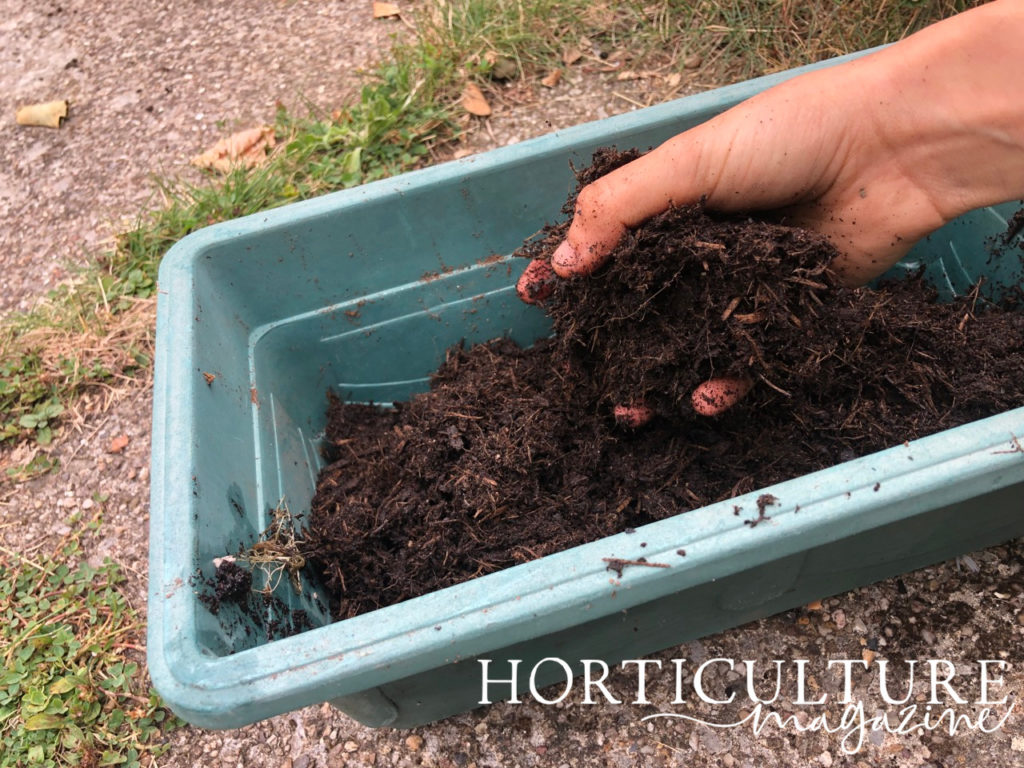
insure that the soil enfeeble well and , if necessary , meliorate the grime with some organic compost , anything from 10 - 50 % of the volume of the grease , and insure the soil pH is slightly acidulous to neutral .
2) Prepare For Transplanting
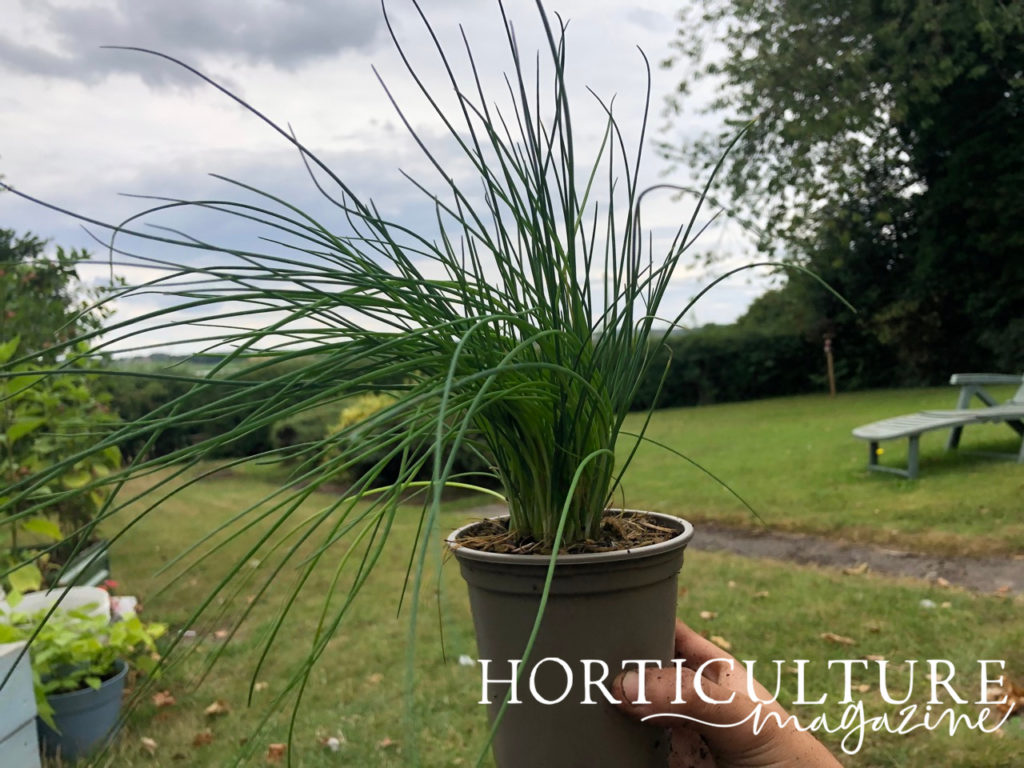
Once you have incur a couplet of minor potted chives , you may transfer them out of doors anytime in April or May when they are 8 - 12 cm in tiptop .
irrigate the potted plant , then dig a hole in the planting region that is about as deep as the potentiometer the chives are in and about 1.5 times as wide .
Lightly water the planting blot .
3) Remove The Potted Plant
enter a flat trowel into the interstice of the dirt and pot and go it around the edge of the pot .
With the pot sideways , push out and up from the drainage hole while prising out the soil testis with the trowel .
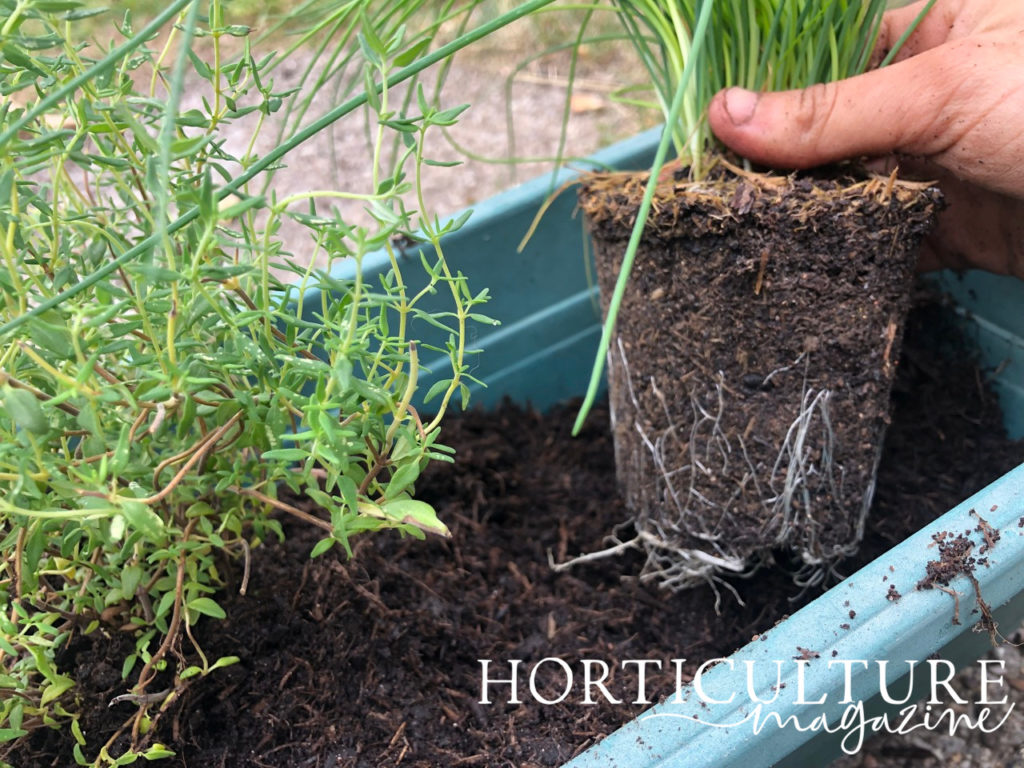
If the plant life and the territory clod do not come out easily , simply wear the pot .
If you obtained the plant from a reputable seller and it is being transplanted within a span of weeks of purchase , you could simply transplant it without further ado , soil glob and all .
But if the young plant is overgrown or if the soil is heavy or densely packed , then pull aside the soil and attempt to circularise out the little root that originate from the bulb gently .
4) Transplant Into The Hole
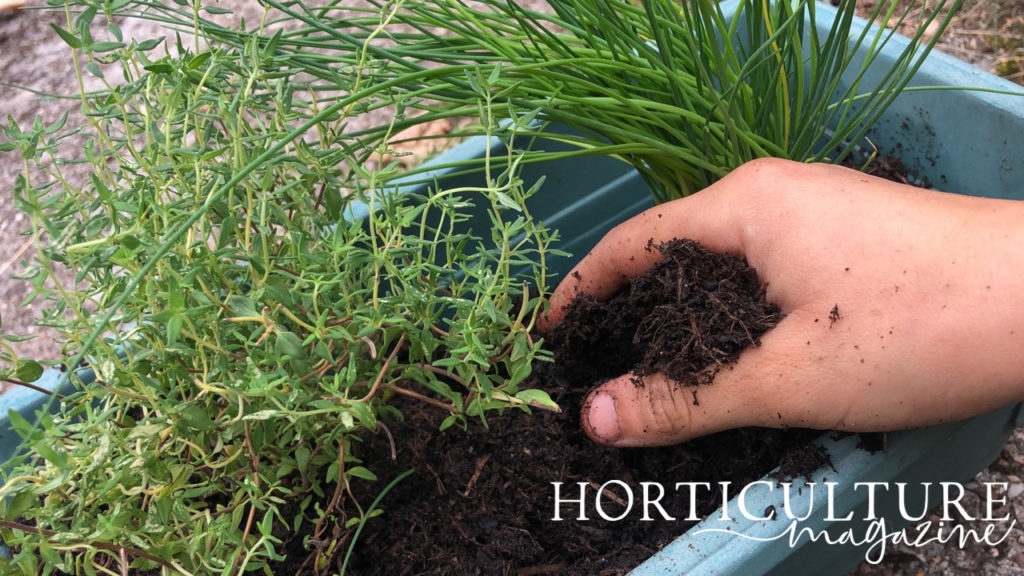
localize the flora in the hole and pop to backfill the hole .
Ensure that the soil will get up to the same level at the stem as it was in the locoweed and no higher , adjusting as necessary .
Pat down the soil around the plant and give it a good lacrimation .
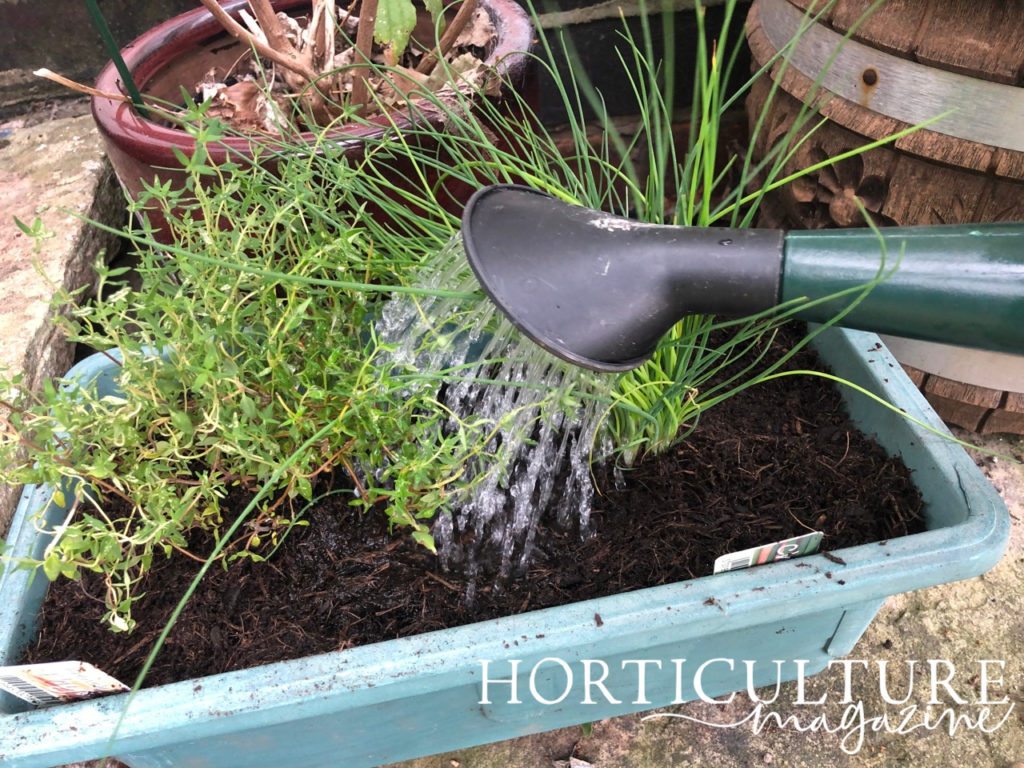
5) Water & Feed Your Chives
Chives necessitate adequate water system , especially new plants .
Accounting for rainwater , half an in of water doubly a week for these shallow - rooted plants will work well .
Chives are not laborious feeder , so if your land is nutritive - racy and if you have ameliorate it with compost , you may not need to fertilise at all .
Otherwise , utilise a very small quantity of slow - release gritty 10 - 5 - 5 fertiliser , or better yet , constituent 10 - 5 - 5 fertiliser , at the altitude of leaping and once again in midsummer .
knead it into the dirt some distance from the centre of the plant life .
